How to use the endo.digital Uploader
Whether it’s your first time or you just want a refresher, here is a quick walkthrough of the process to upload data via the endo.digital Uploader.
This article assumes you have:
- An endo.digital account – If you don’t have an account, ask your healthcare provider to send you an invitation to endo.digital .
- The latest version of endo.digital Uploader installed on your computer. See this guide on updating the endo.digital Uploader for more information.
- Your diabetes devices. That’s where the data is, after all.
- Device-specific cables to connect your devices to your computer. Some of these cables are common, others are rather unique. Use our device pages at the bottom of this page to see what cables you will need to upload your data.
NOTE: Clinic staff using a clinic’s single-sign-on should set it up before the first use:
- Enter the Set SSO Login screen under the File menu
- Set the SSO code provided to you by you DreaMed account manager and click save.
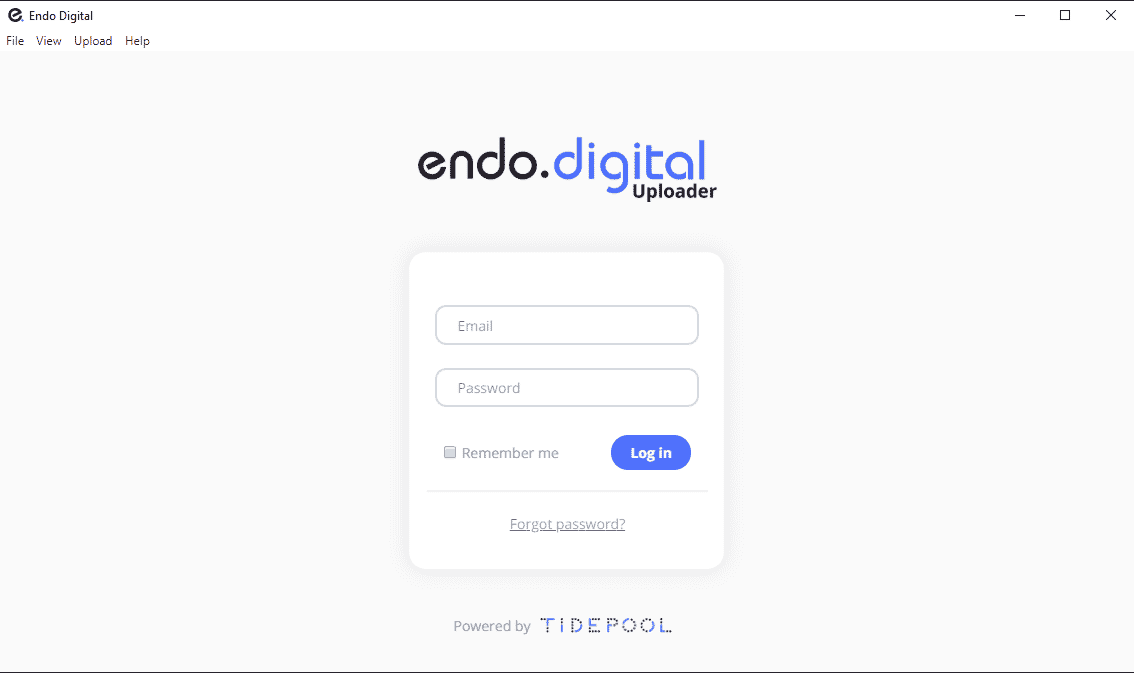
- Once the SSO code is set, click the Login button to log in using your clinic credentials.
1. Launch endo.digital Uploader
Launch endo.digital Uploader by clicking the Endo Digital icon on your desktop
Log in to your account.
For Clinic:
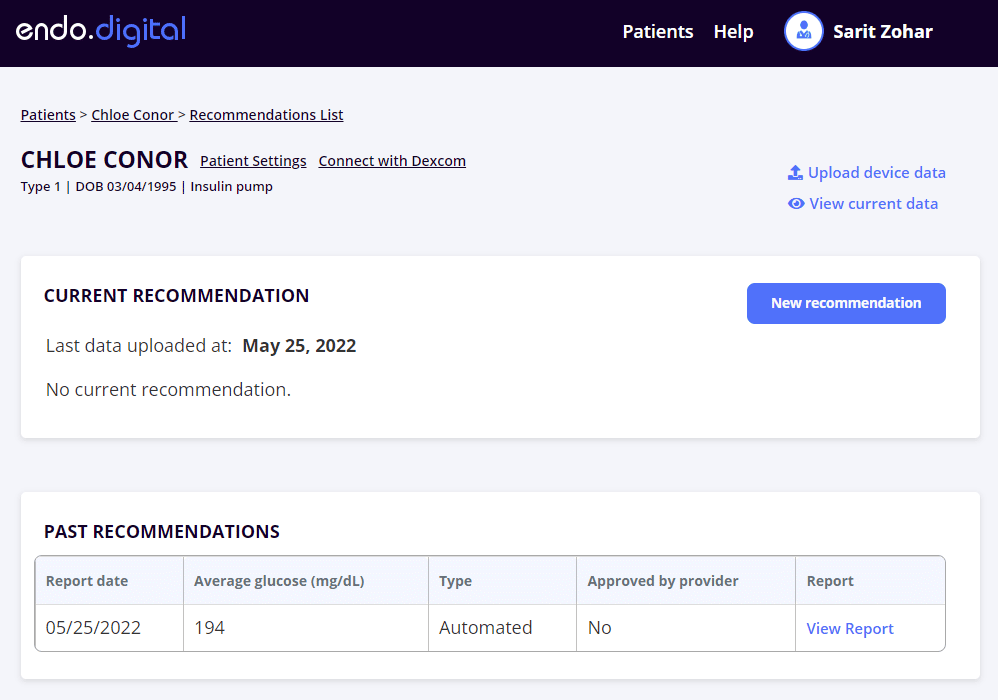
Launch endo.digital Uploader by clicking “Upload Device Data” in endo.digital for the patient you are currently viewing
2. Confirm your diabetes devices are selected
For Patients:
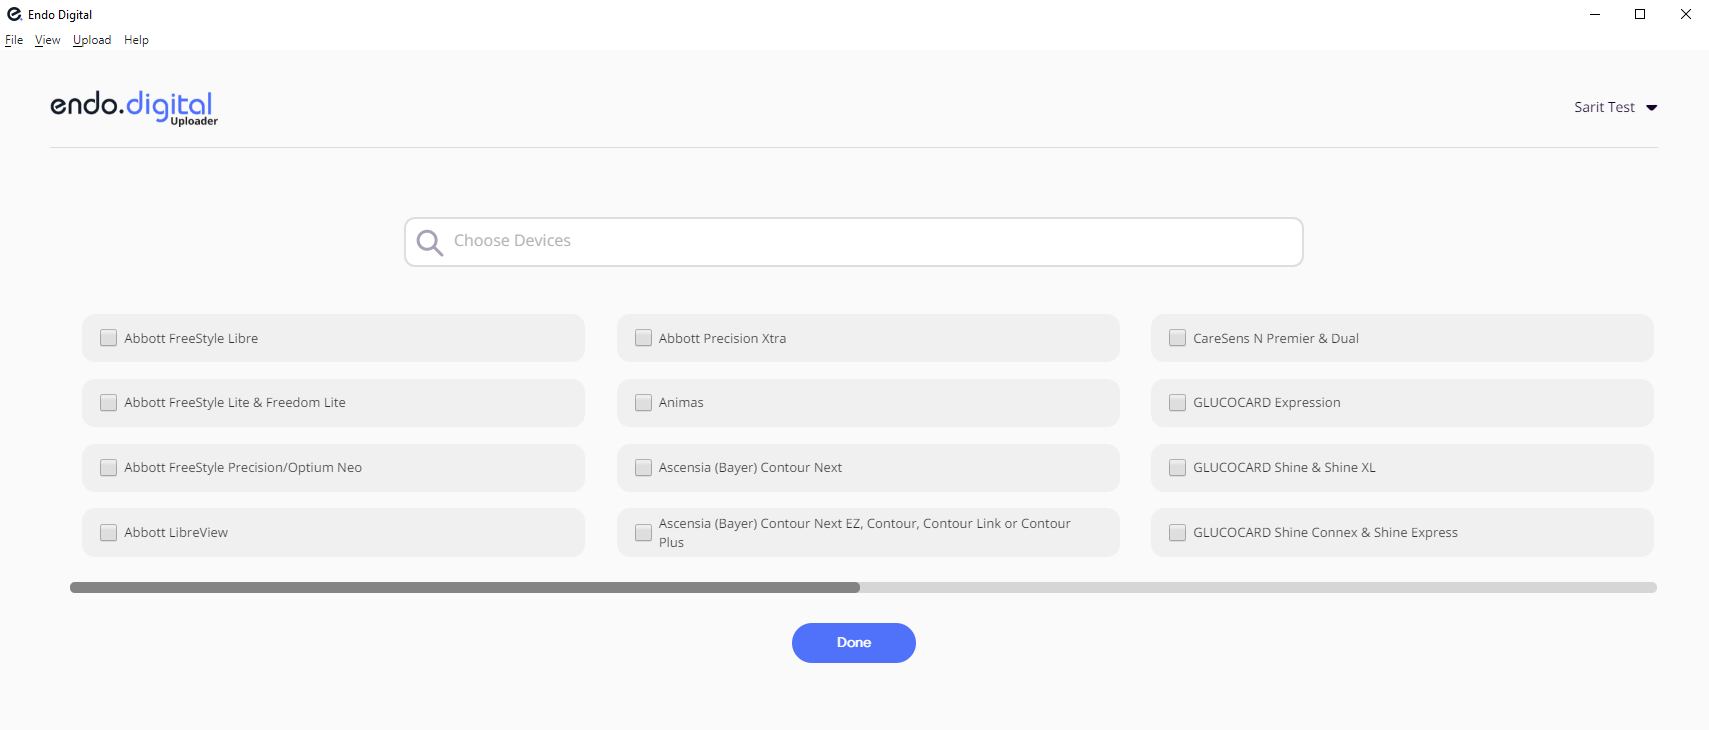
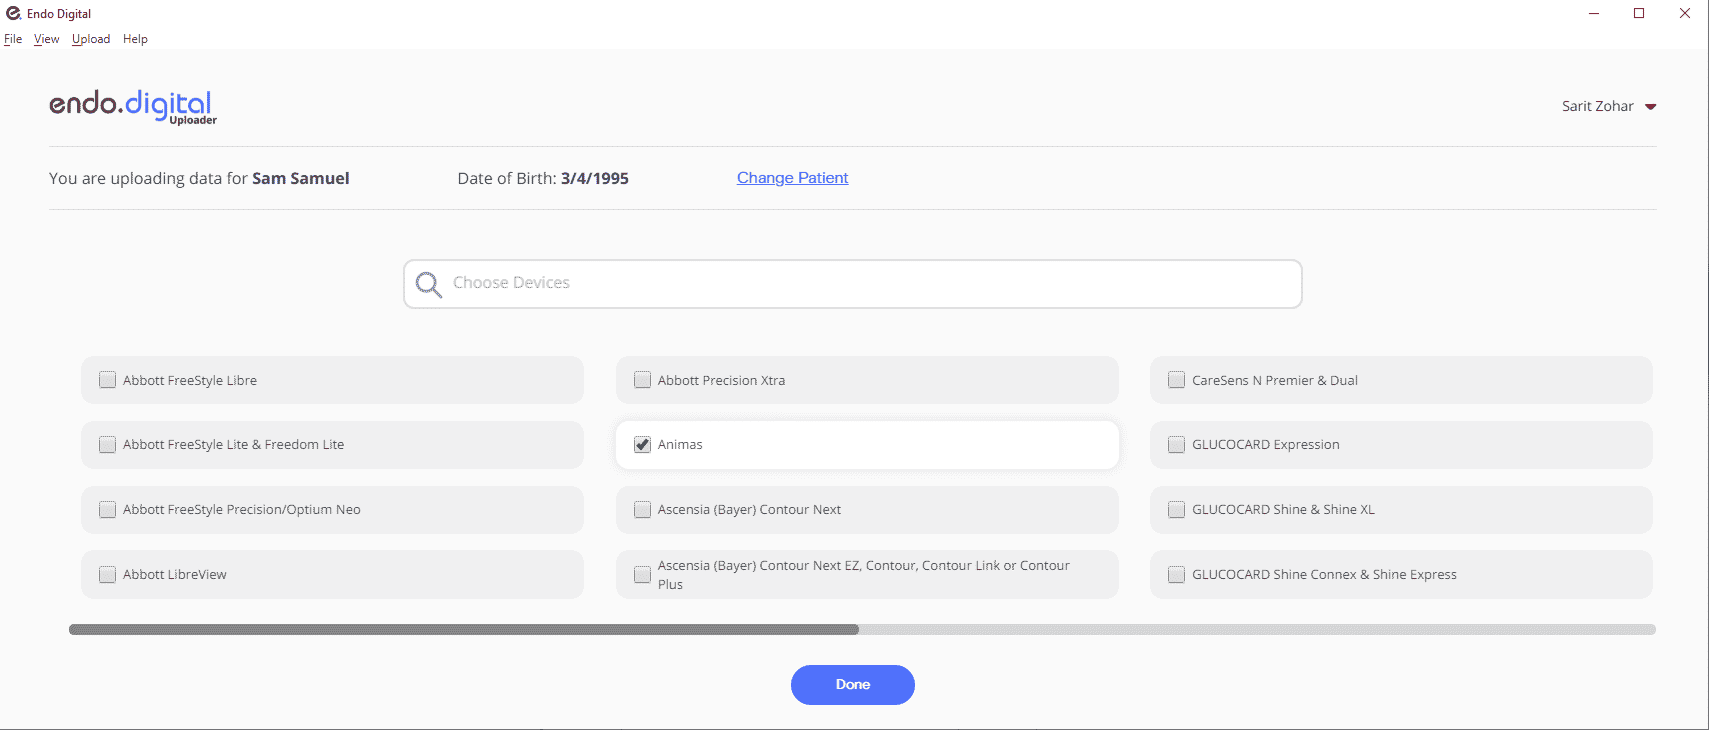
- Search for your device by entering its name or model in the search box:
- Mark the checkbox next to your device and click “Done”
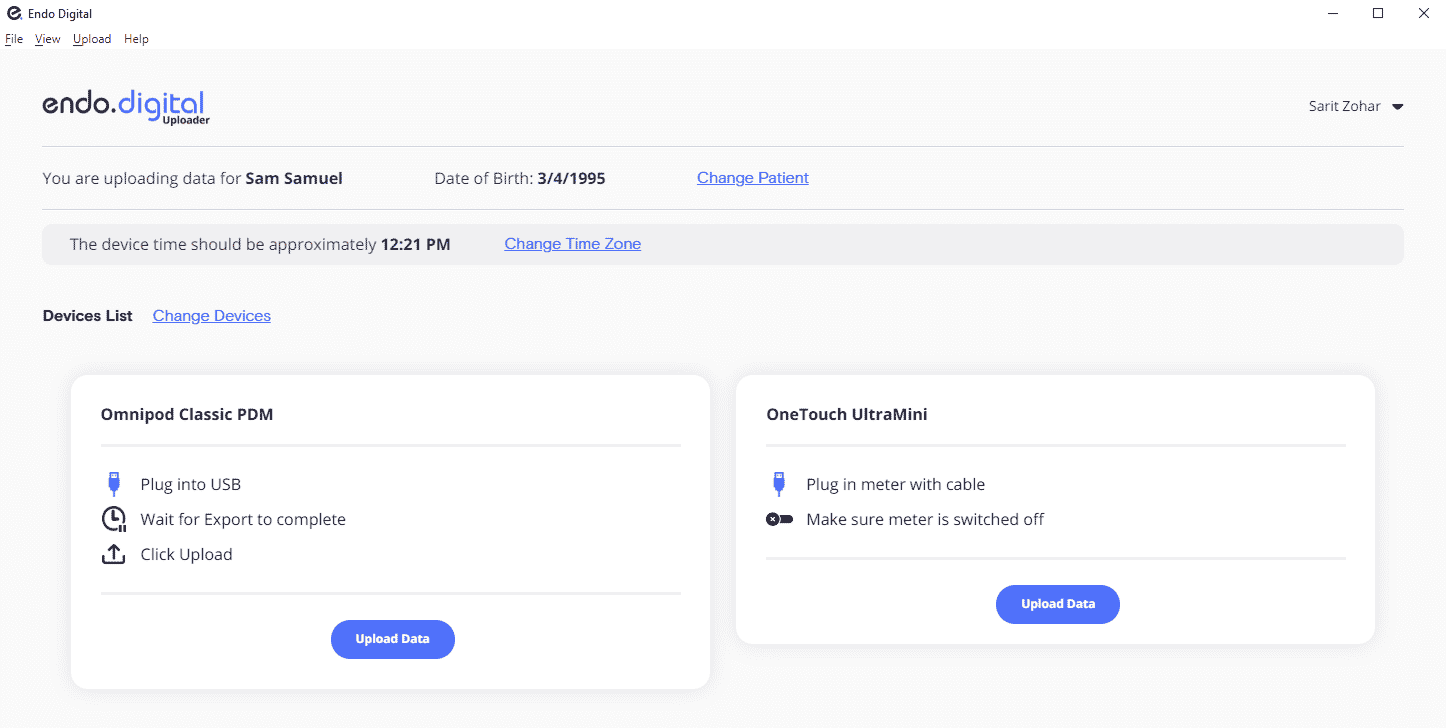
- You may change your selected device/s, by clicking the “Change Devices” link
For Clinic:
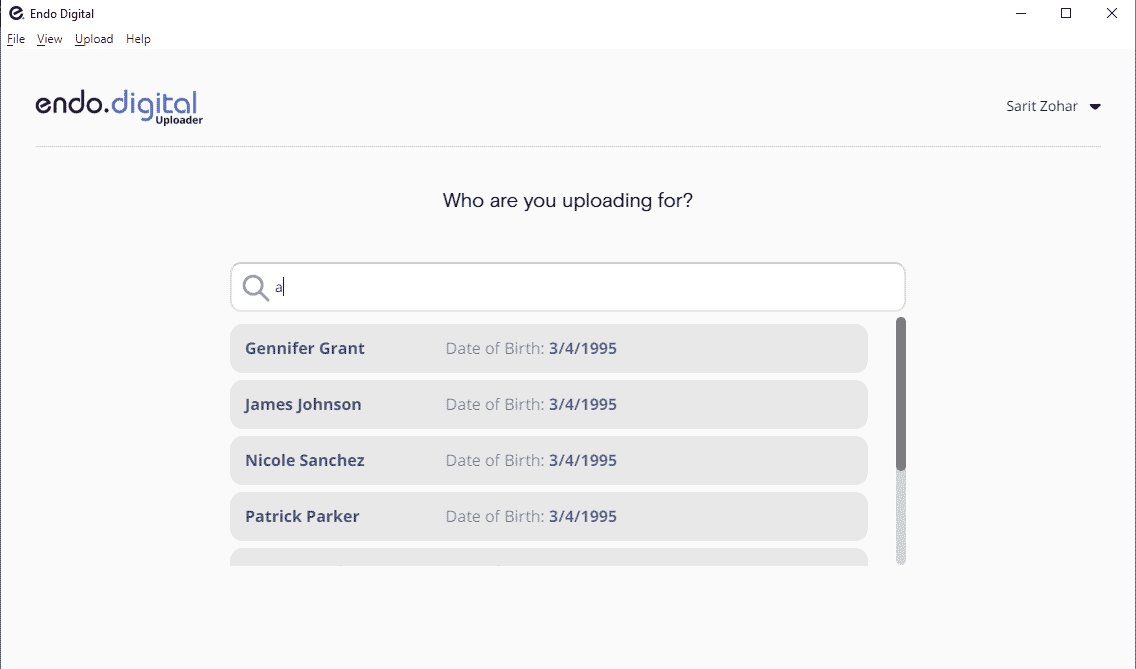
- Search for patient name (or MRN) and choose patient from drop down
- If you opened endo.digital Uploader via “Upload Device Data” link, you will skip the choose patient step
- Choose patient’s devices by selecting the checkbox next to the patient’s device and click “Done”, or click ‘Change Device’ in the Device section
3. Confirm the time zone is correct
- Confirm endo.digital Uploader is set to the right time zone. This helps us keep your data in sync.
4. Connect your device
- Connect the diabetes device you wish to upload to your computer. Different devices require different cables to connect to your computer. Review our guides for each device you use to make sure you can properly upload your diabetes data.
5. Upload your data
- Click “Upload” to upload your data. Leaving the Uploader selected on your computer (in front of other windows) will allow it to execute the upload more quickly.
6.Next steps
You’re done! After the upload is complete, you can upload another device (see step 4).
For Clinic:
Return to endo.digital to view data.
www.dreamed-diabetes.com


